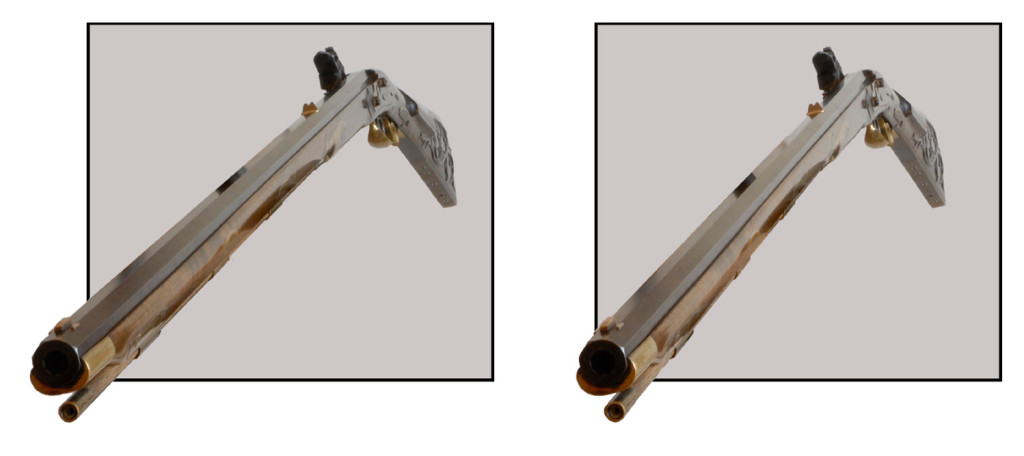
Some more tips and ideas that may help keep you out of 3D trouble.
Tip #7: Looking at Cross-View (X-View) 3D Images
It is easy to teach novices to view cross-view (X-view) images without using a viewer with this method called free-viewing.
With an X-stereo pair on your computer screen, sit directly in front of the monitor. Place your index finger right at the junction (septum) of the two pix. Gaze at the tip of your index finger and slowly bring it forward toward a point directly between your eyes. Keep your eye converged (looking) at your fingertip, but pay attention to the photos in the background. You will notice, as your finger moves toward you, each of the photos in the background will split in two (seeming to be four pictures altogether). As you continue slowly moving your finger toward your eyes, the inner two images will move toward each other, then merge. At that point, focus your eyes on the merged stereo photo and quickly drop your finger out of the picture. Voila! 3-D . . . the easy way! More Instructions Here
Tip #8: Fake 3D Movies
The Clash of the Titans movie was filmed in 2D. Then a process called "2D to 3D conversion" was applied to make it seem 3D. This can create a strange effect called pop-up or pop-out due to its strong resemblance to the books where the images fold out in layers. This conversion was performed by a company named Prime Focus which, I have heard, charges a bargain price of US $100,000.00 per minute of film to do this work. Warner Brothers passed this enormous cost along to you as increased ticket costs. You, the viewers, paid extra for something you really did not receive (a movie filmed in 3D). This is not to say you may not have enjoyed the movie, but you might have enjoyed it much more had it been truly filmed originally in real 3D, as was Avatar, a great example of actual 3D filming.
I opted not to see Titans because it was filmed in 2D and later converted to 3D. I cannot say firsthand how well or poorly the 2D to 3D conversion was done, but I have read numerous reports from those who did view it. 2D to 3D conversion can be quite convincing if someone takes the time to do the work. See elsewhere on this site for the 2D to 3D conversions I have created, myself. You will be hard pressed to tell them from real 3D. I have heard that this is not the case with Titans.
Tip #9: Rotation Errors
If you try to cure rotation errors by lining up vertical objects, such as flagpoles and building corners, you will have great difficulty and usually fail. If the camera is tilted upward or downward, very few vertical objects will be vertical in the photos and the same object can have a different offset from vertical in the two photos. Do not fall for this seemingly easy way to align stereo pairs as the result will always be poor or even horrid.
Tip #10: Monocular Objects Can Be Distracting
Consider an object, such as a white paper cup resting on the pavement and seen in the ghost edge of the left chip (near the right edge). The place where the cup resides is completely outside the window border in the opposite chip (right chip) so it, and the area around it cannot be seen. For this reason, if you use a digital imaging program to replace the cup with another element, (some cloned pavement, perhaps) it will not create a rivalry. This is because there is no information in the right chip to conflict with whatever you substitute for the cup. You can, quite literally, make up what you want to put in place of the monocular object (the paper cup). If the substituted information (a piece of similar pavement) is less contrasting than the replaced object (the white paper cup), then the monocular object problem will be drastically reduced or even totally eliminated.
Tip #11: Setback
Use Proper Setback to Make Images Easier to View
Most stereographers have a lot of fun by causing images to be in-your-face or to project through the window. That is fine and it is great fun, but consider this; many normal images just naturally need room to breathe . . . and the viewer needs room to breathe. This is called setback. In most cases it is better to keep pushing the image deeper and deeper behind the window until you recapture the essence of what it was that drew you to photograph the scene in the first place. That is how you give the image the same feel you had from where you took the picture. In fact, that is the only way that most stereograms become truly easy to view. Use subtlety, not an axe between the eyes, to get your point across. However, pushing the image back behind the window plane beyond a certain point makes the image harder to fuse.
Tip #12: Automatic Camera Problems
Always Set Automatic Cameras to Manual Mode because automatic cameras can introduce unexpected problems with exposure and focus.
Auto exposure errors
Cameras set to auto exposure mode often change the exposure settings, especially if there is intermittent cloud cover and the light level is fluctuating. Learn to use the manual exposure settings and use them when taking stereo pictures so both images will be sure to have the same exposure. Exception; if the light level is fluctuating rapidly due to shifting clouds, you may have use the automatic setting.
Auto focus errors
Cameras set to auto focus can sometimes change the focus point and degrade image pairs. Set the camera to the manual focus setting.
